How long does a whole home renovation take?
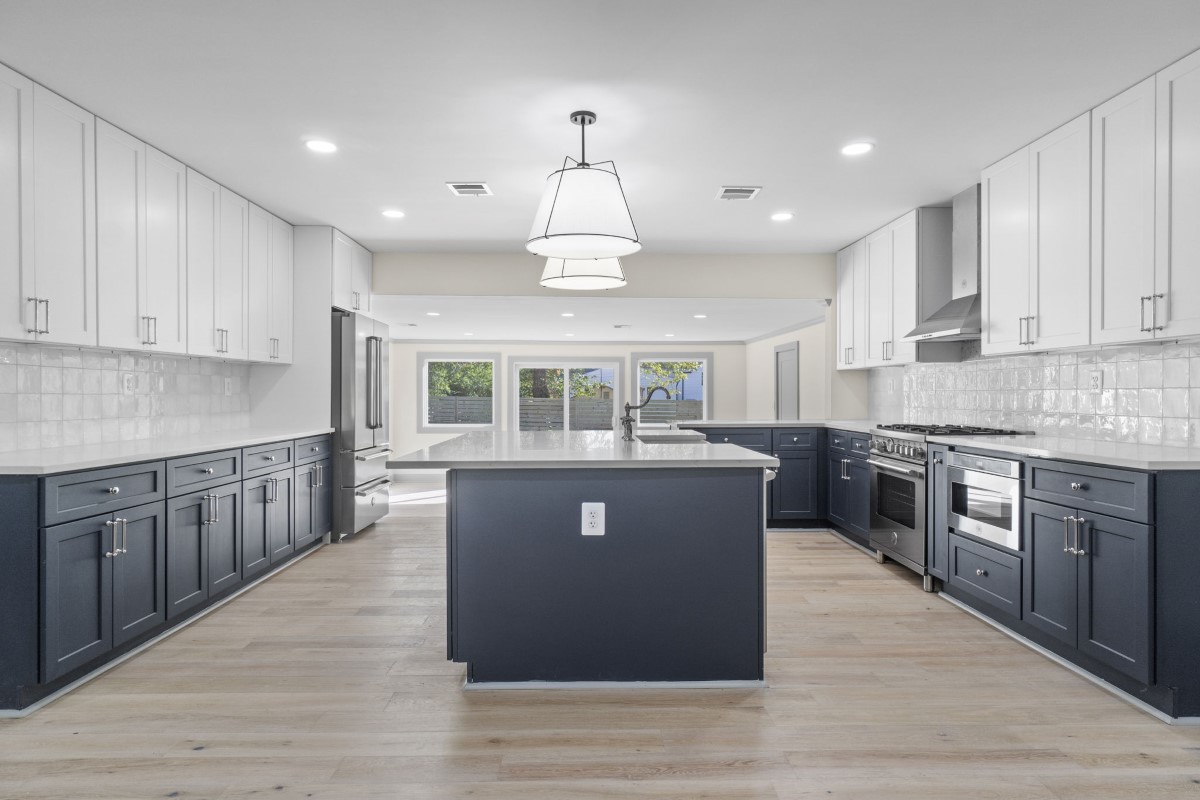
Every project is different but you can expect your whole home renovation to take anywhere from 16 weeks (4 months) to 24 weeks (6 months,) not including design and permitting time. The project highlighted below is a project we renovated a home in Alexandria Virginia, the home had not been updated or maintained since the early 2000’s and was simply in complete disrepair, see the before photos below for a glance at the blank canvas.
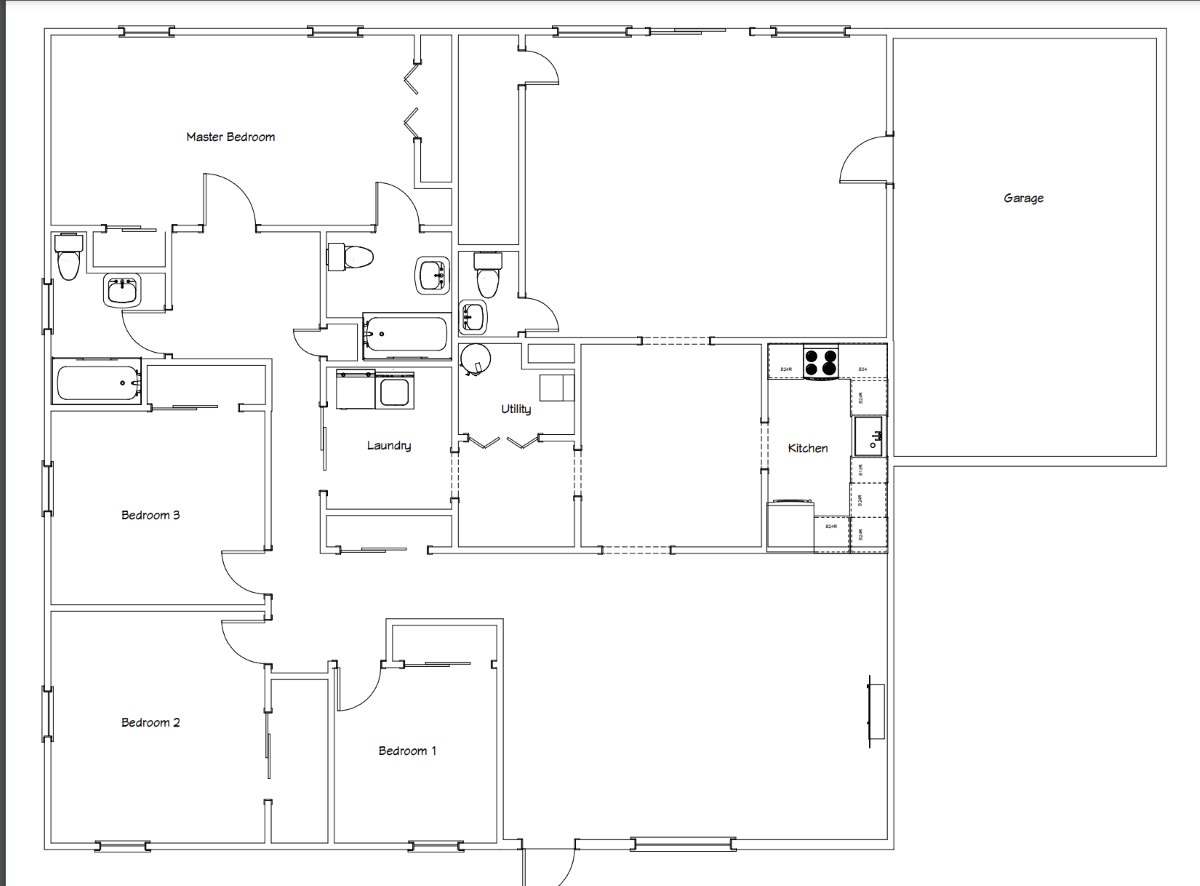
Our design team began designing in April of 2023, we began construction in June and delivered the finished product to our clients completed in October of 2023. For a whole home renovation project you can expect your architectural drawings and interior design phase to take anywhere from 4 to 8 weeks, depending on how many revisions you might require for your floor plan and how decisive your finish selection process is. Since our clients were eager to get their project moving they were very decisive on their design selections and made minimal revisions to the floor plan that our design team proposed. Soon after our clients signed off on their finish selections and floor plan, our design team engaged a structural engineer to draft the structural engineering component of this renovation. When you are removing walls or building new rooms it’s pertinent that a structural engineer is engaged. Structural engineering is quite often an overlooked cost and necessity to making sure a renovation is done properly, to code and that the work is done safely. This renovation project took place in the Fairfax County portion of Alexandria Virginia, the permitting process can be tedious but the permitting process in Fairfax County took roughly 45 days from submission to having a permit approved allowing us to begin construction. Our design team in collaboration with our structural engineer drafted highly detailed plans with all necessary specifications which allowed us to obtain our permits in a quicker than expected timeline.
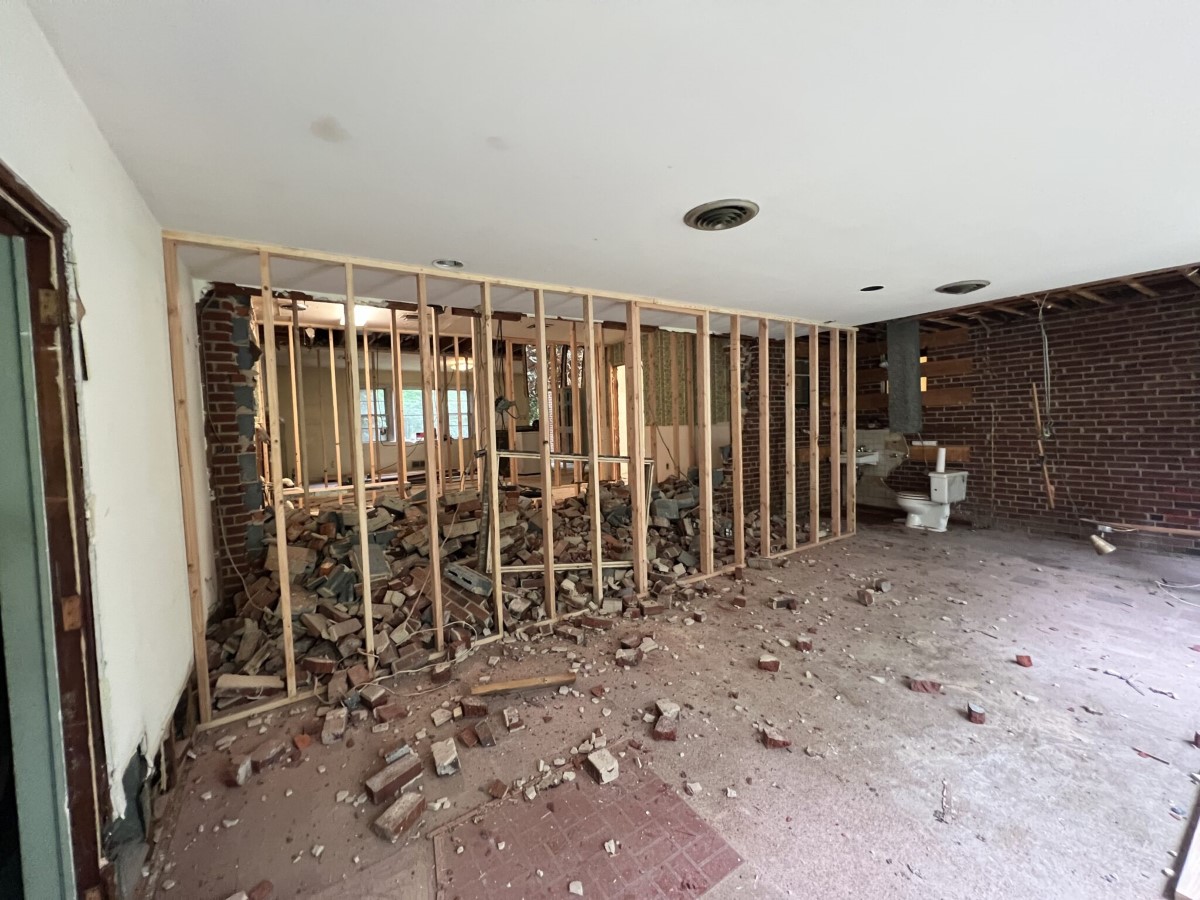
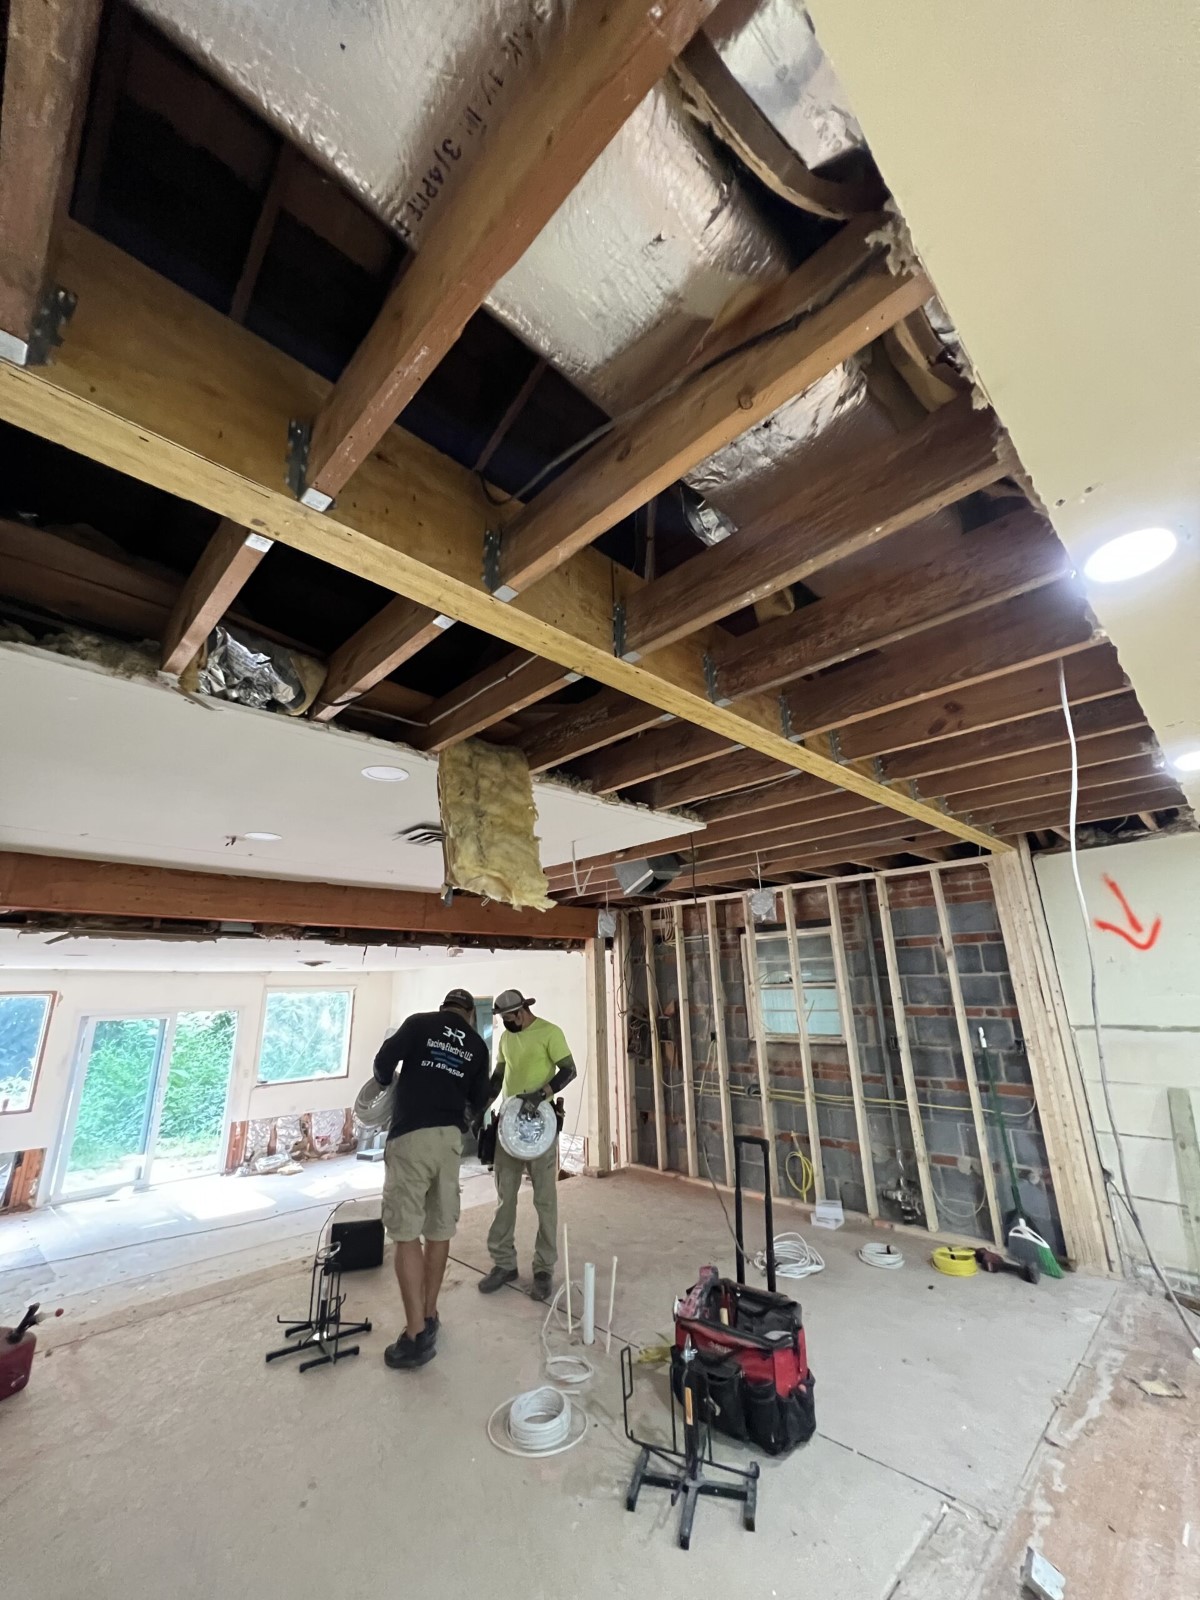
As our permits were approved, our next step was demolition. Demolition seems to be the easiest step for construction but in reality demolition can be one of the most complicated portions of your renovation journey. Whether it be utility disconnection, structural engineering prep or hazardous materials, demolition needs to be addressed with extreme caution and attention to detail. Our clients had a very clear understanding of their demolition plan as for every project we have a pre construction walk through where we outline all the precautions we are taking and our full demolition scope with our clients. For this particular renovation, as we demolished numerous load bearing walls, our carpentry team had to use temporary shoring walls to hold the weight that those load bearing walls held while they were demolished. Shoring is in most cases the safest way to shift the weight that an existing wall holds up to a temporary wall, allowing the existing load bearing wall to be removed and for the new structural framing like a steel beam or LVL to be installed in its place. As you go through your demolition process, you might see walls up where you might not expect them to be and in most cases that would be a shoring wall.
After demolition is completed framing, electrical rough ins, plumbing rough ins, and HVAC rough ins, are all next in line for your renovation project. During this time, it is your last opportunity to be able to add any additional recessed lights, sconce lights, wall mounted plumbing fixtures or even an extra HVAC vent. For this renovation, during this process we installed all new electrical and plumbing. The HVAC vents that were existing were in surprisingly great condition so our clients decided to keep those in existing condition. Additionally, our carpentry team installed new windows and doors throughout the home at this time, and our roofing team installed a new roof, this allowed for complete job site efficiency as many days we had multiple trades on site at the same time.
County inspections are next in line for your project, regardless of how large your scope of work might be for your project having county rough in inspections is pertinent to your renovation process. This time is when all your framing is inspected by the county to ensure it meets all local building codes and the same for all your electrical, plumbing and HVAC work as well. Although working with local municipalities might seem like a drag, this is a necessary evil to ensure that the work done by all the trade contractors was done correctly and safely. For the project outlined here, our trade contractors were able to pass their trade inspections quickly, keeping our project moving in the right direction. You can expect all your rough in inspections with Fairfax County to all take place on the same day.
Heading into the finishing stage of your project, having a plan to stage the materials necessary to finish your project is one of the single most important activities to ensure your project is completed in a timely manner. The reason our design build methodology and process works so well for our clients is because we have our clients select their finishes well in advance of the finishing stages of construction, in most all cases our clients have selected each individual fixture and finish before we have even filed for permits. As our drywall team began hanging drywall, our design team back at the office began placing orders and staging out the finishing materials to be installed for our clients. In a lot of cases, our design team orders the items with longest lead times even before passing rough in inspections to ensure their delivery is on time and ready once inspections have passed and those items are ready to be installed. For this particular project, our clients went with semi custom cabinetry that had a roughly 4 week lead time from order to delivery. As our design team orders other miscellaneous items like light fixtures, door hardware and plumbing fixtures, we ensure those are delivered to a safe place like our storage facility so that when they are fully ready to be installed, our trade partners can come and pick them up.
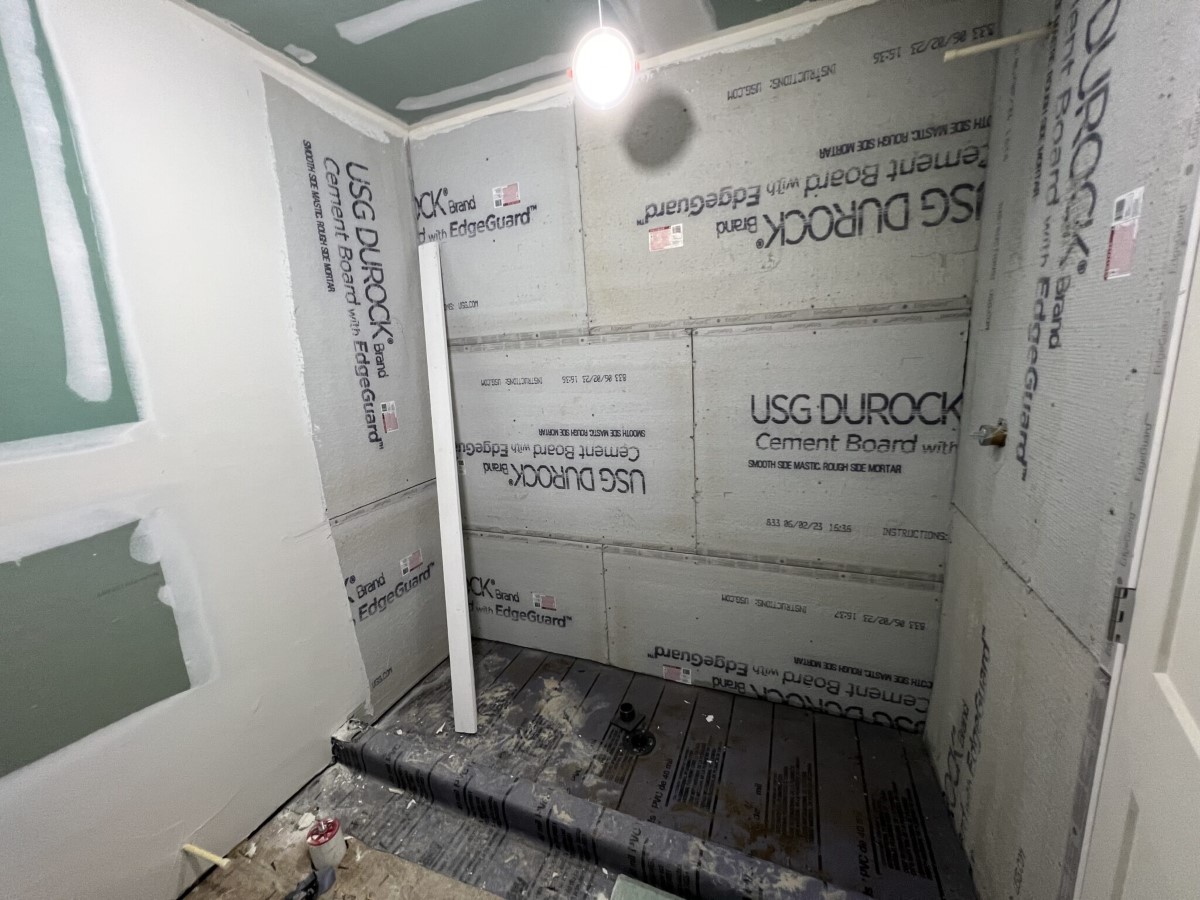
Drywall, trim, doors, painting, flooring, cabinets, tile, countertops and fixtures. In this order is how most every renovation project will be commenced for your finishing stage. For this particular project we went into detail with our clients about our finish construction plan, the timeline in which materials would arrive and the timeline in which those materials would be installed. Our timeline for finish construction is usually the most time intensive of the entire renovation process. After our rough in inspections have passed, we have another walk though with our clients to ensure they understand the timelines for the finishing phase and address any concerns that they may have. For this particular project, the finishing construction phase took roughly 10 weeks to complete in the order mentioned above.
As nothing is perfect with construction the punch out phase is your opportunity to identify any knicks, scratches or cracks that you would like addressed prior to your project being closed out. During this time we also go over all of our warranty procedures with our clients.
In the realm of design, Abby creates personalized, stunning spaces from blank canvases. Her designs seamlessly blend aesthetics and trends with functionality, creating environments that reflect her clients’ unique tastes and needs. Beyond design, Abby transitions into the role of a project coordinator. She manages the practical aspects of projects, from liaising with contractors to keeping timelines and budgets on track. Their meticulous attention to detail ensures that every aspect aligns with the design vision. Abby is known for her approachable and friendly demeanor when it comes to tackling problems or answering questions, she will certainly succeed in answering any questions you may have.


